The Basics of Procreate (Presentation Notes)
This is an artist page by Laura Cañas. Laura was a resident during the CATS+ Spring 2025 cohort. This page contains notes from a presentation given on Procreate by Laura during the residency period.
Introduction
I use Procreate to do digital illustration, edit pictures, create flyers or posters, make artwork for screenprinting or riso printing (create the different layers of color), and make gifs. Procreate is made for digital illustration and successfully competes with the monopoly of Adobe because it is very intuitive, has a great interface, and is affordable, costing only one payment of $12.99 USD (Price as of 2025). Procreate is made for iPad, but there is also a version for the iPhone.
Procreate has three products:
- Procreate (iPad)
- Procreate Dreams, for animation (iPad)
- Procreate pocket (iPhone)
In this article I will show you some of the basic tools in Procreate and how to use them. Some of the contents of this article are: how to open a new file, how to manage the layers, edit your brushes and texts and make simple animations.
Materials
- iPadOS 16.3 or later
- Apple Pencil (desired, but not totally necessary)
Topics
- Open a New File - Import Files
- Layers - Groups - Layers mode
- Canvas
- Adjustments
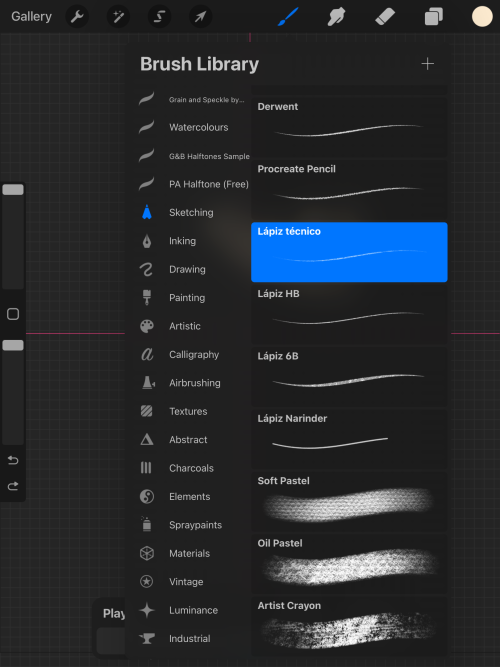
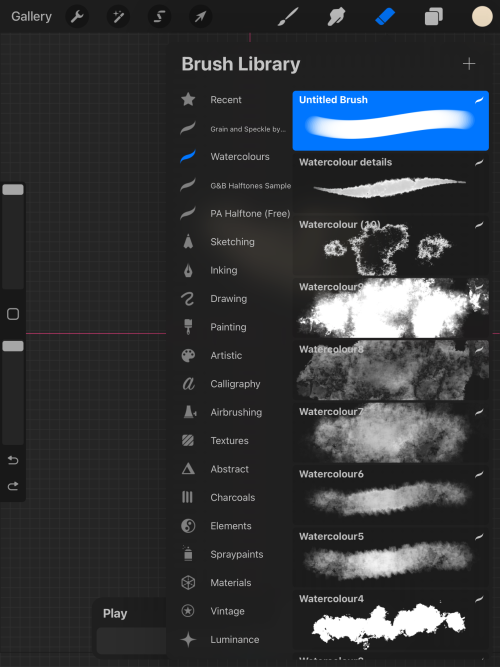
- Brushes and Erasers
- Selection and Transform Tools
- Texts - Import Fonts
- Animations
- Screen Printing or Riso Printing
Note: The screenshots shared in this article represent their respective topics.
Open a New File
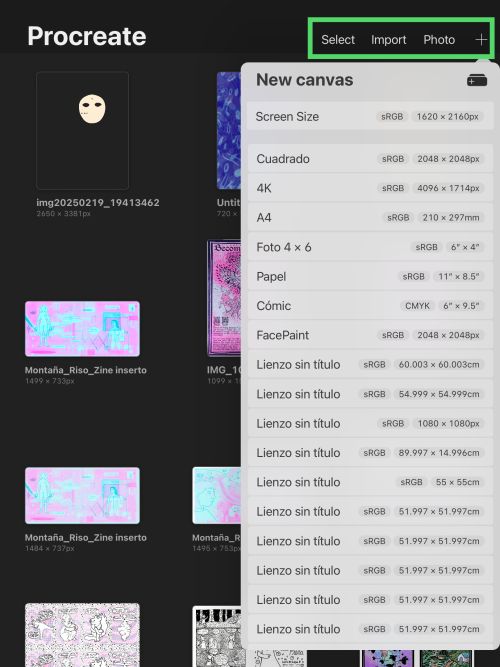
- Either open directly on the app or import a picture file.
- Import all the materials you need.
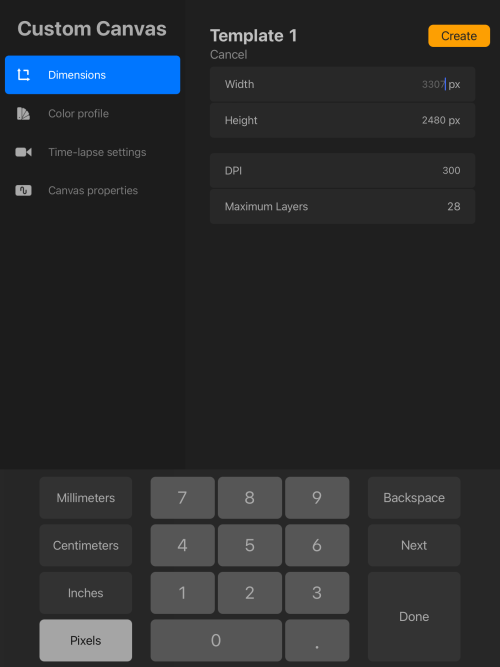
- You can create a template by clicking the symbol of a folder with a plus on the menu, which is displayed after clicking the plus symbol on the far right.
- Depending on the proportion of width, height, and dpi you choose, you will have more or less layer available to work on.
Layers - Groups - Layers Mode
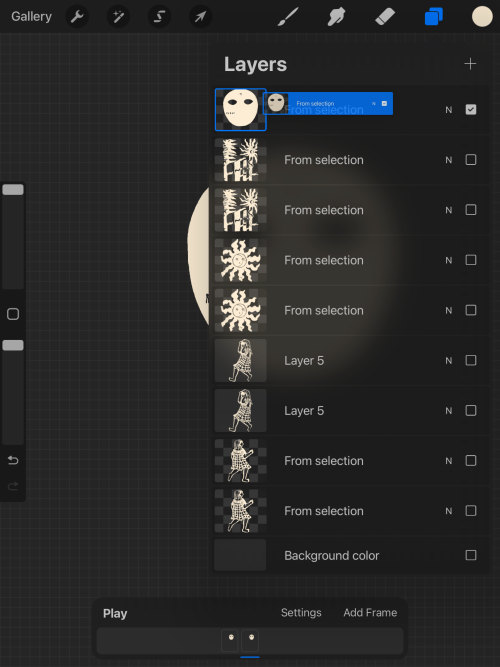
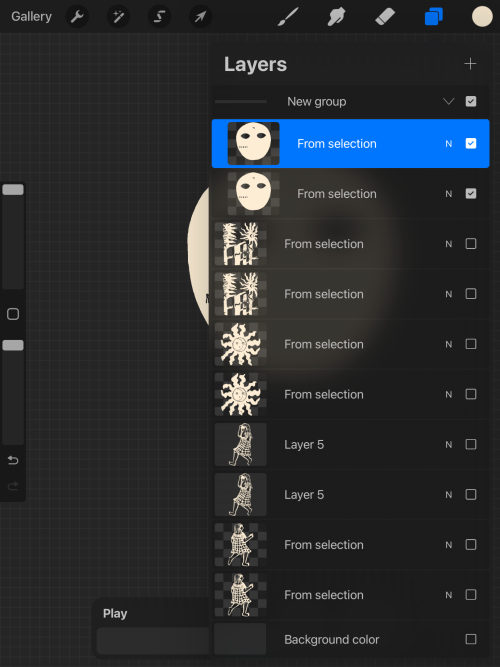
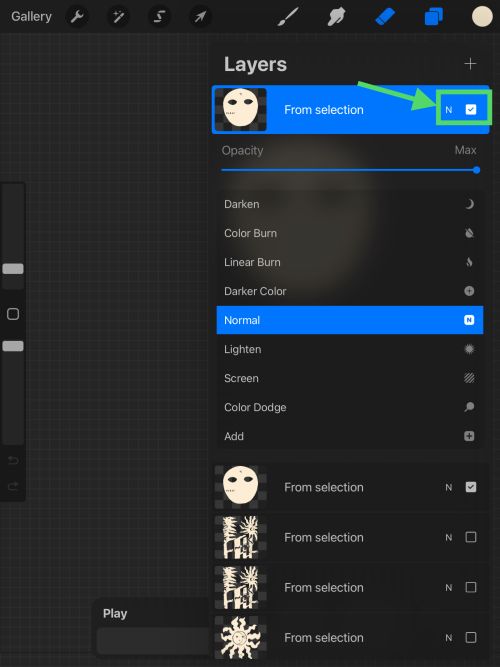
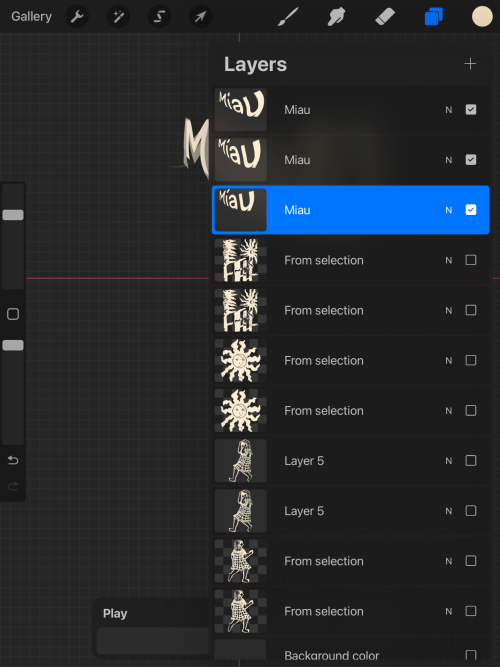
- To change the order of layers, tap and hold a layer, then drag it to the desired location.
- To create a group of layers, tap and hold a layer, and then place it on top of the layer you want to make a group with. The group will be created automatically.
- To make a layer visible or invisible, mark the box on the far right next to the layer name.
- To change the layer name, tap on it.
- To change the opacity and blend mode of the layer, tap on the “N” next to the layer name. Blend mode is how the colors of the layer are shown in relation to the layers below it, creating different overlapping effects.
- Explore the blend modes options here: https://help.procreate.com/procreate/handbook/layers/layers-blend.
Canvas
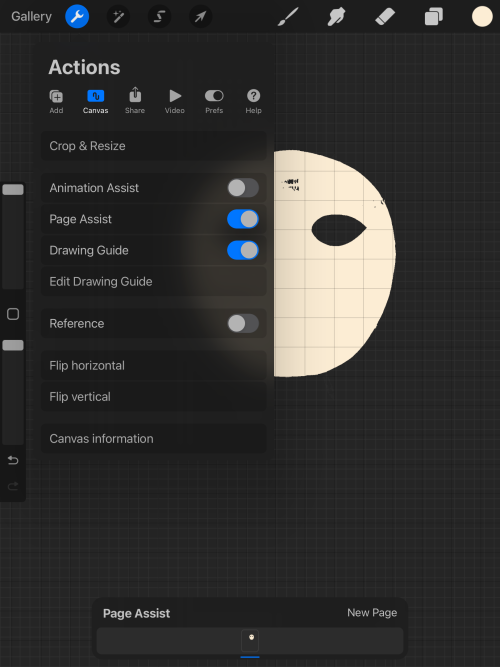
- In the tool icon found on the far left of the bar at the top, you can:
- Add: Insert files, take pictures directly from the app, and add text.
- Canvas: Resize the canvas, edit guides, activate the animation option, flip cthe anvas, and change the canvas information.
- Share: Export the file in different formats. You can also export the layers in PNG or a PDF.
- Video: Activate the time-lapse recording of your creative process and export it.
- Prefs: Change the interface options
- Help: Handbook and extra resources
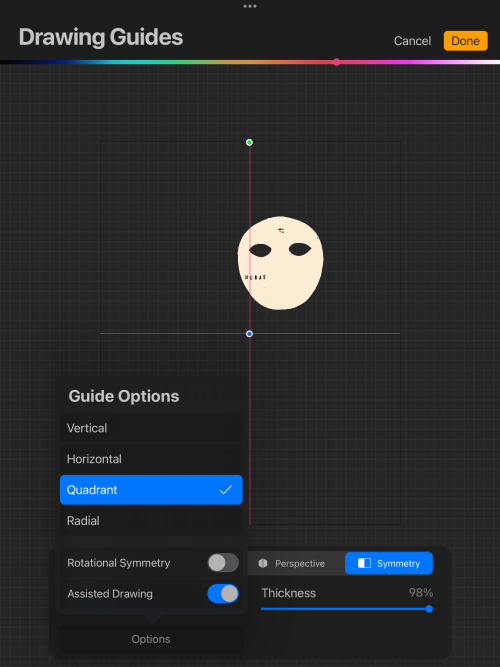
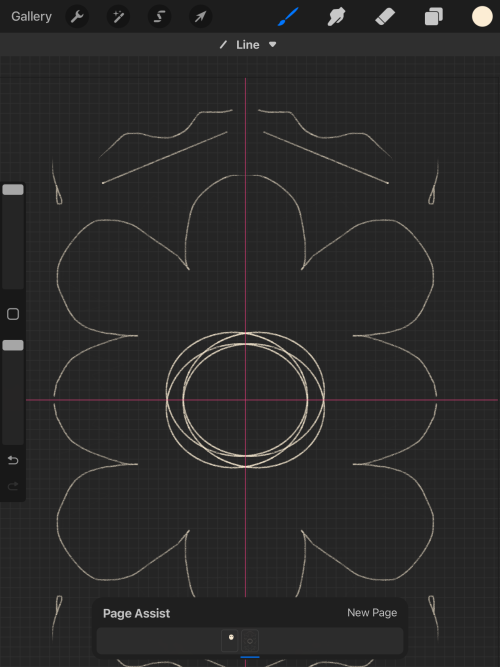
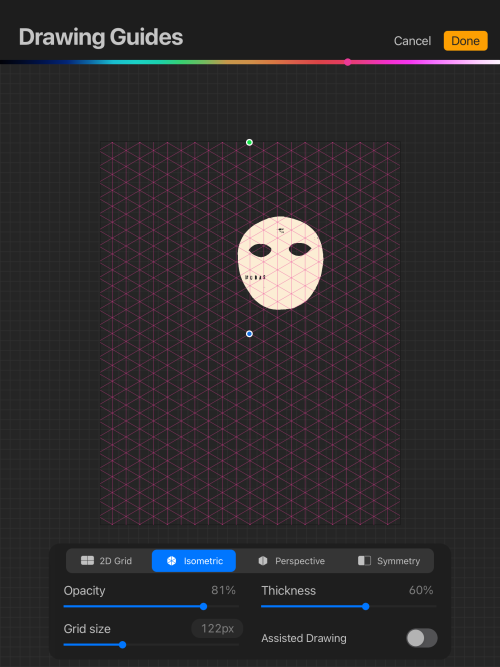
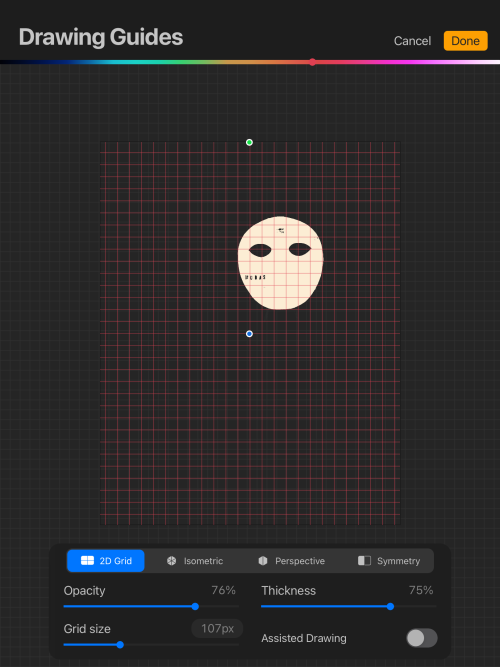
- Something fun to do here. Create patterns by editing the guides and activating the option for symmetry.
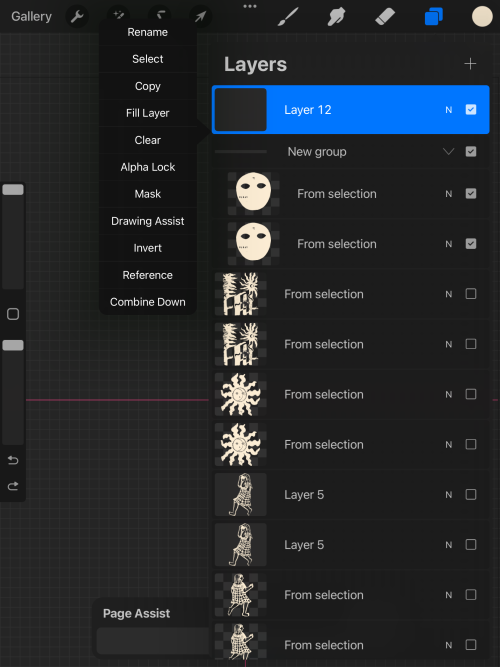
- When you want to draw the symmetry, make sure that you also activate the “Drawing Assist” option on the layer. Tap on the layer once and a menu will be displayed, is the eighth option.
- You can change the opacity, grid size, thickness, and shape of the grid. In the bar with rainbow colors on the top, you can select the color of the grid.
Adjustments
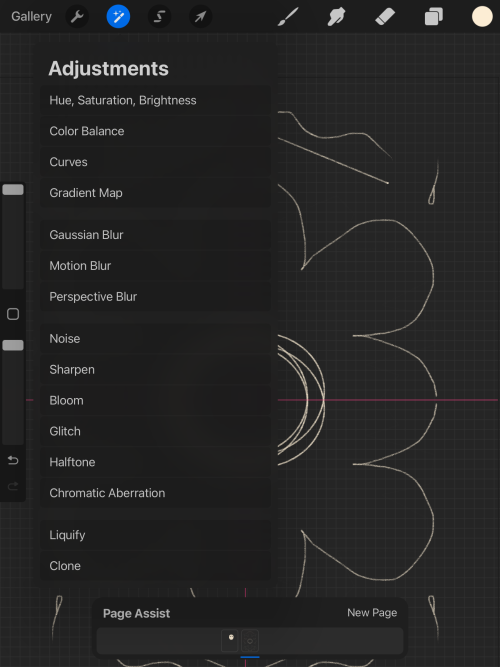
- Here, you have options to edit your pictures or images, including hue, saturation, brightness, color balance, curves, and gradient map (which allows you to create different color gradient options and apply them to your picture).
- There are other options that work as filters on the pictures.
Brushes & Erasers
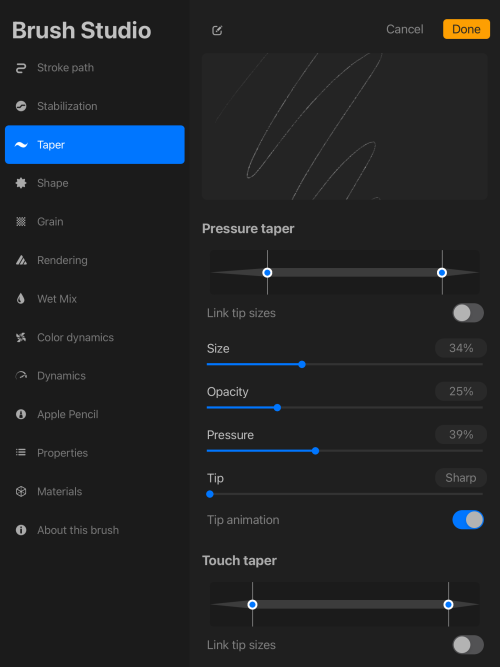
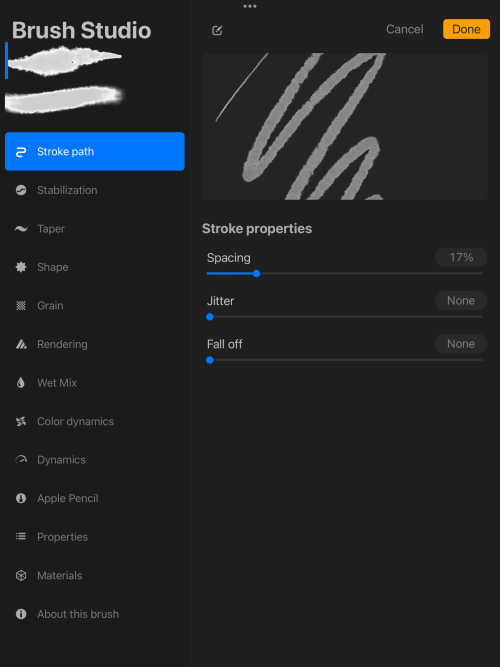
- Tap the brush you want to use and explore the different options to modify it.
- The erasers are based on the same brushes imported into the software.
Selection & Transform Tools
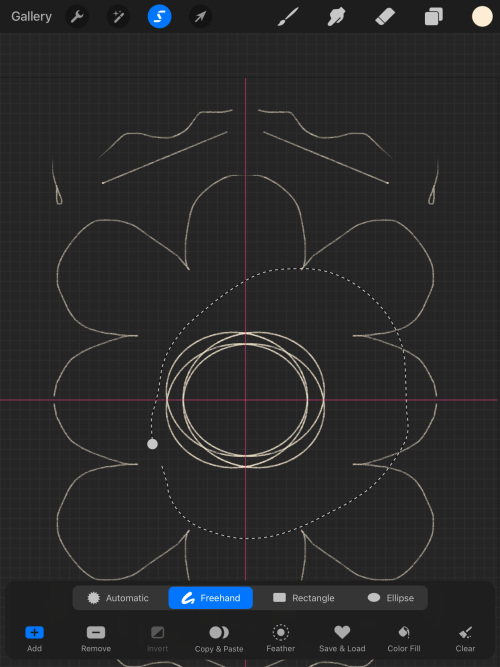
- In the toolbar at the top, Selection is the third option.
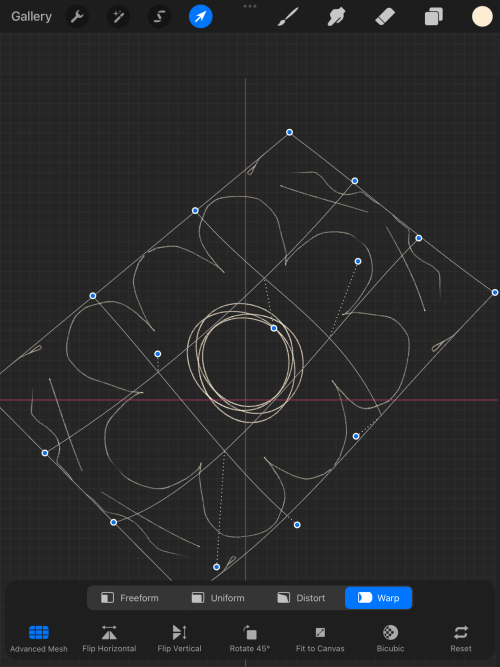
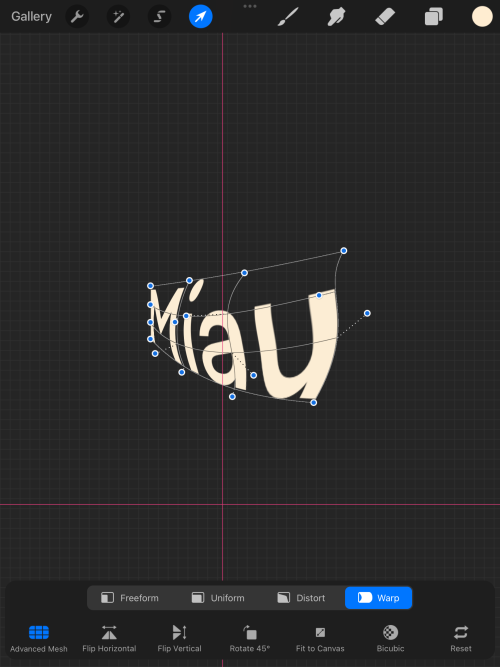
- In the toolbar at the top, Transform is the fourth option.
Texts - Import Fonts
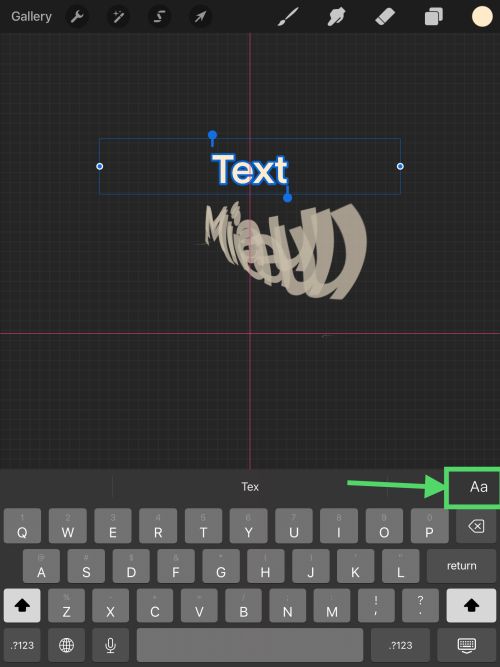
- Modify the font, size, and other options of text by selecting the text and tapping once on the “Aa” icon displayed on top of the keyboard.
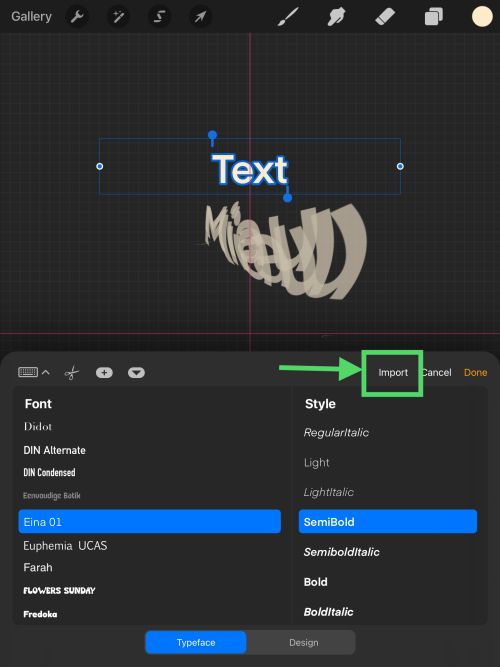
- Import a font by tapping the Import option in the toolbar displayed after tapping Aa.
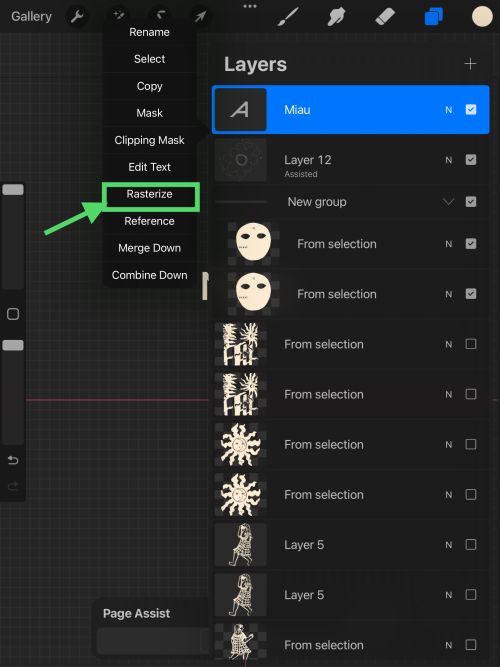
- Rasterize the text by tapping once on the text layer. It is the seventh option in the displayed menu.
- After you rasterize the text, you can transform it following the steps above.
Animations
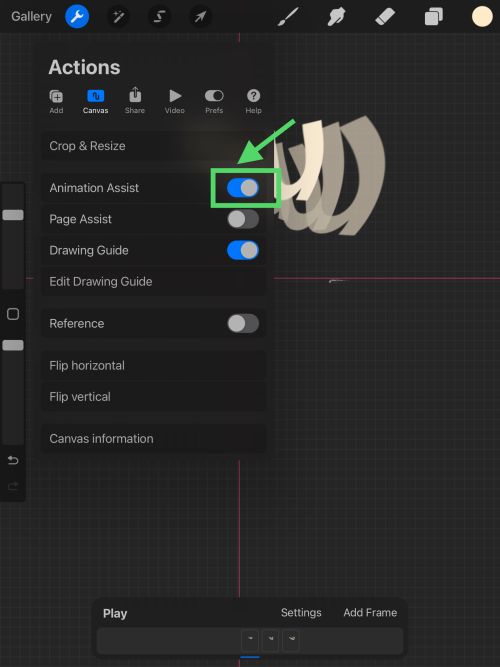
- On the toolbar at the top, tap the “Tool” icon.
- Tap Canvas.
- Activate Animation Assist.
- Every frame of the animation becomes a new layer. Several layers can be shown in the same frame by checking the visible box of the layers while simultaneously selecting the frame where they should be displayed.
Screen Printing or Riso Printing
- Check this comprehensive tutorial for preparing your files in the various layers for screen printing or riso printing. It is the same process.
- One option that is very useful in this case is the “halftone” in the Adjustments menu, which is the 12th option.
