Manage Volunteers in Airtable: Difference between revisions
From MoHA Wiki
mNo edit summary |
(Add "related links") |
||
| Line 10: | Line 10: | ||
{{#lst:Adding Volunteer Role Descriptions|chapter1}} | {{#lst:Adding Volunteer Role Descriptions|chapter1}} | ||
== Related links == | |||
*[[Adding Volunteer Requests]] | |||
*[[Editing Volunteer Requests]] | |||
*[[Adding Volunteer Role Descriptions]] | |||
[[Category:Staff]] | [[Category:Staff]] | ||
[[Category:Guide]] | [[Category:Guide]] | ||
Latest revision as of 18:06, March 29, 2024
Add Volunteer Requests
Steps:
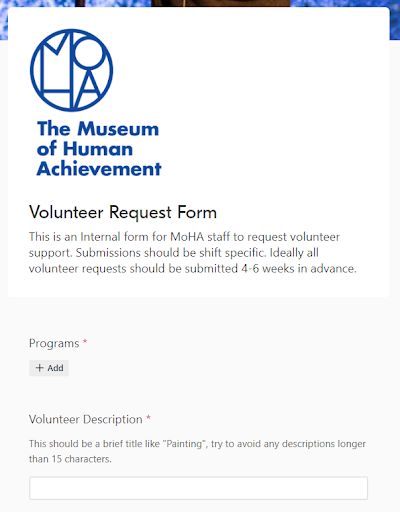
- Go to Request Volunteer Staff
- Note: You can also find this through the Staff page on the MoHA Wiki.
- If signing in requires a password, use "mohahaha" (all lowercase).
- Programs
- The program you need volunteers for.
- The start of the description the volunteers will see.
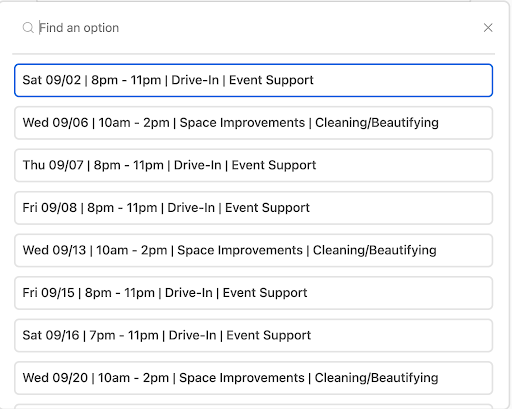
- After the program, volunteers see role, date, time.
- Note: Keep these descriptions brief!
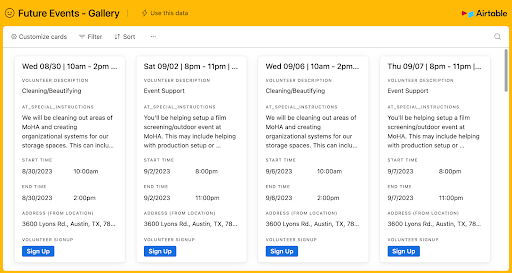
- Pictured below are the two views volunteers can see. In mobile, excess words are sometimes cut off.
- A volunteer can pick "sign-up" from the gallery view, which prepopulates the form with their selected event.
- Volunteer Description
- Note: Once again, this should be BRIEF.
- 15 characters or less.
- Note: Once again, this should be BRIEF.
- Special Instructions
- These instructions will be texted and emailed to the volunteer.
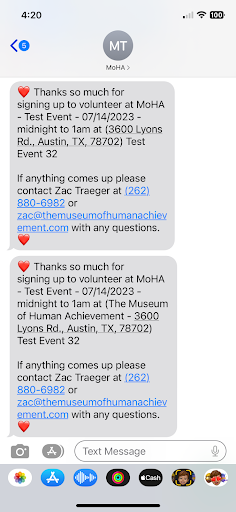
- Text: “Thanks so much for signing up to volunteer at [Program] - [Event Name] - [Date] - [Time] shift at [Location]”
- Email: “Thanks so much for signing up to volunteer at [Program] - [Event Name] - [Date] - [Time] shift at [Location] … you’ll be doing [special instructions]”
- Date
- Date of event.
- Start Time
- Used to create the calendar event, ensure this is before the end time.
- End Time
- Used to create the calendar event.
- Time
- This is what is texted to volunteers. Ex: "9am-11am"
- Location
- If the location isn't populated in the list, add it to the Airtable later.
- Coordinator
- Staff member to contact with questions.
Edit Volunteer Requests
Steps:
Add Location:
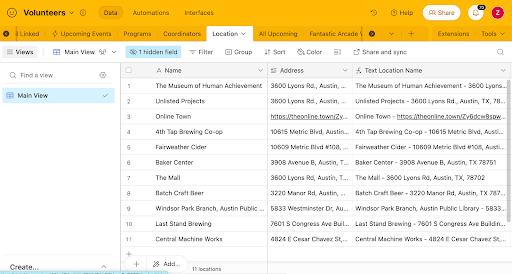
- Go to: Your Airtable Page > Volunteers > Locations.
- Optional: Hide the "Schedule" tab.
- The only parts you need to edit are "Name" and "Address."
- "Text Location Name" is a formula, but is the content volunteers are sent.
General Edits:
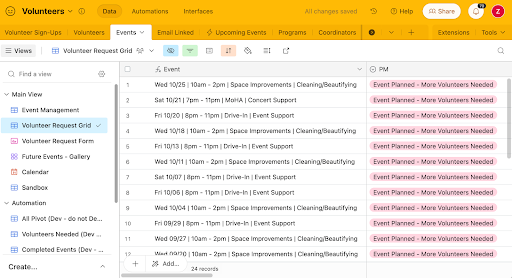
- Go to your Airtable Event > Volunteers > Events.
- On the right, select Views > Volunteer Request Grid.
- PM
- Project Management. If marked "Event Completed" the event will not appear on the public form.
- Events marked "Event Planned - More Volunteers Needed" appear on the form.
- Project Management. If marked "Event Completed" the event will not appear on the public form.
- Programs, Volunteer Description, Special Instructions, Time, Location, Coordinator.
- Edit all of these fields in the Airtable Grid.
- Date
- Google Calendar pulls information from Airtable at 9am and 10am and creates events.
- The syncing isn't two-way, so if you got the date wrong you must create a new event and start over.
- Note: If your Special Instructions are elaborate, copy them before you delete and resubmit.
- You can edit and fit your date if the automation runs with a calendar event, checkbox, and calendar link.
- Uncheck the "at_calendar_created" box.
- Delete the "Google Calendar Event ID" and "Calendar Link" fields for your listing and a new event will be populated in the morning.
- Delete the old event from the Google Calendar.
- If people are already attending, let them know the date was wrong when you change it.
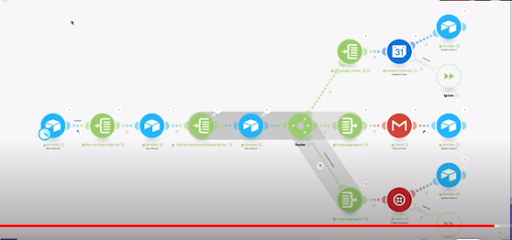
- On the backend, Airtable checks each morning for new entries:
- Once someone signs up to volunteer, they are sent:
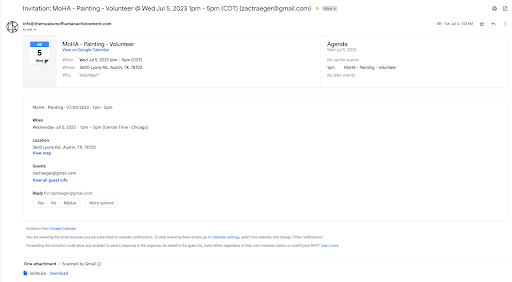
- Google Calendar invite
- A text
- An email
- Once someone signs up to volunteer, they are sent:
Add Volunteer Role Descriptions
Add/Edit:
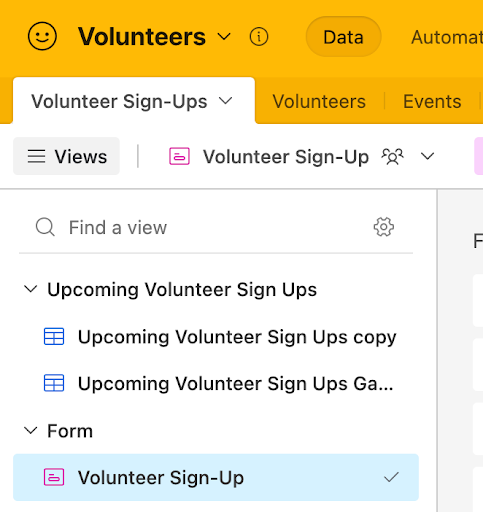
- Go to Airtable > Volunteers > Volunteer Sign-Up
- If your Program doesn't display, check if it is hidden.
- "Limit selection to specific options (x options selected)"
- "Change selected options"
- Toggle the Programs as needed, then click "Use selected options."
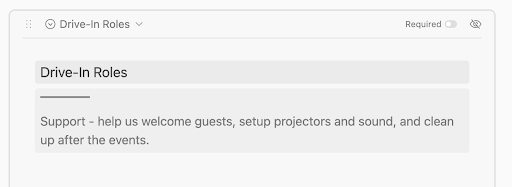
- If not already created, create role descriptions for your Program.
- Select an existing description.
- Duplicate field.
- Duplicate cells toggled on.
- Set the new field as "list."
- Copy the description/top line of a preexisting program.
- This is to get the "top line" which will display as an underline.
- Copy the description/top line of a preexisting program.
- Change the name.
- Change both the "question name" and the category.
- Go back to the "Volunteer Roles" menu.
- Select "Volunteer Roles \/"
- "Edit Field"
- "Add option"
- Add the new Role.
- Select the new description section.
- "Show field only when conditions are met"
- When "Volunteer Roles" "has any of" "New Role"
- EX: When "Volunteer Roles" has any of "CATS+".
- Test the role, by checkmarking it on the previous form and confirming descriptions display.
