Projection Mapping with Touch Designer Using KantanMapper
This is an artist page by Mavyn Vu. This project was part of the CATS+ Spring 2024 cohort.
Introduction
I really wanted to explore different applications of projection mapping – throughout the residency period, I produced three projects that incorporated simple short-range projection mapping. Our cohort was first introduced to projection mapping through a workshop playing around with VPT8, a free software, and HeavyM, a $40/month software one of the residents was trying out. I decided that VPT8 was too cumbersome to use for me and that HeavyM was too expensive, so I set out to learn TouchDesigner.
Like many, I was very intimidated by TouchDesigner when I first opened it up. If you have experience coding or with the Adobe Suite, it’s a little easier to start to get used to it. But if you don’t, don’t let it scare you! I found that there were certain video resources that were very helpful (Derivative’s Fundamentals Course, bileam’s youtube channel). I find that the combination of a structured video series and also just smaller youtube tutorials that taught how to make a very specific project (like interactive moving posters) super helpful in getting used to the UI of TouchDesigner. The TouchDesigner Discord channel is also very responsive and supportive if you have questions!
I decided that for the type of projection mapping I wanted to play around with (smaller scale, adjustable, similar to the way VPT8 and HeavyM worked), TouchDesigner’s KantanMapper tool was the way to go.
Materials
Download TouchDesigner here! As for equipment and specs, for all of the following projects, I used a cheap entry level projector I got on Amazon for $44 (Puxinat Mini Projector, 1080P), it’s not AMAZING lumens or resolution, but as long as the environment is dark enough, it does the job, especially for closer up, smaller setups. If you are trying to do entire buildings or buses of projections, I would recommend checking out better ones (they can get expensive fast, though). The laptop I used is a Macbook Pro 2021 M1 pro chip.
Getting Started with KantanMapper
The YouTube video I followed to get started with KantanMapper is here.
Here is the project flow I usually follow:
- Open a new TouchDesigner file.
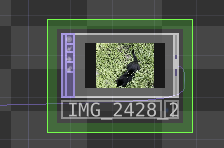
- Drag the files you want to use into your TouchDesigner file. They should appear in a purple box frame as a Texture Operator (TOP).
- For videos, you can also use the Movie File Operator TOP to import video in.
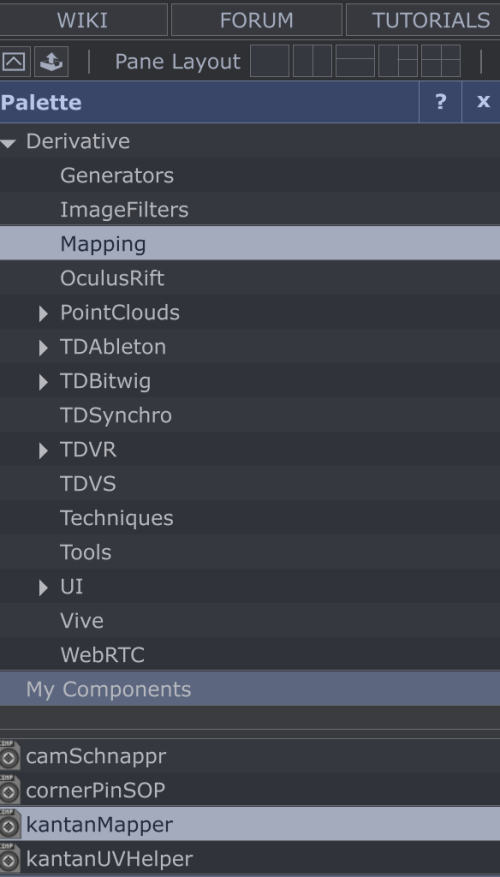
- Go to the Palette window, click Mapping > Kantan Mapper.
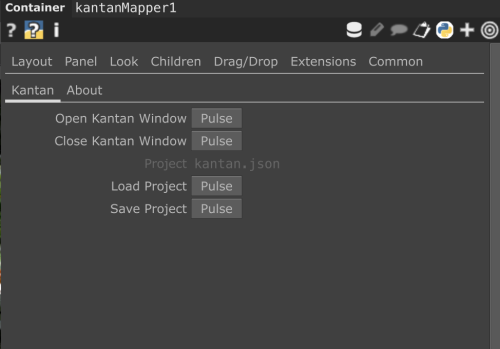
- Drag the component into your work area (the same area you dragged your files into). Click on it to see the container window.
- Next to "Open Kantan Window," click Pulse.
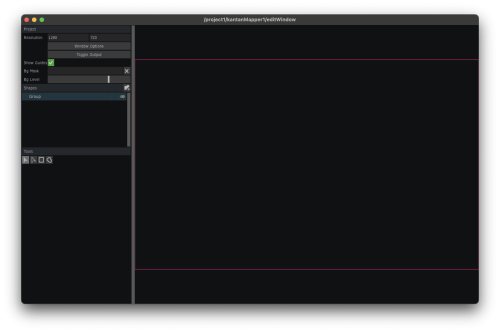
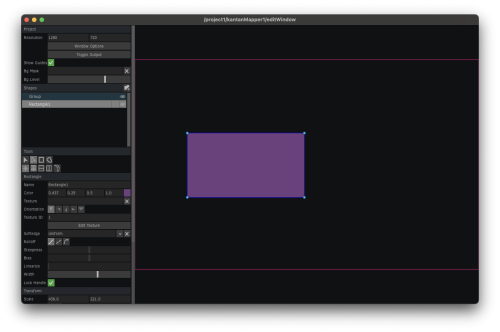
- The following window displays:
- Now, we can start mapping! First, make sure the projector is connected to your computer as an extended display, NOT a screen mirror.
- Go back to that KantanMapper window. Make sure the Resolution numbers match the dimensions of your projector. Typically 1280x720.
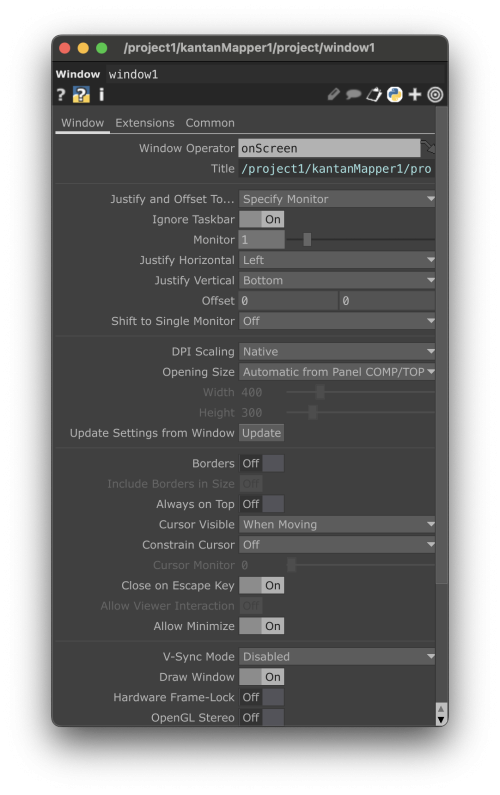
- Click Window Options. Make sure in the “Monitor” section, you have it scrolled to 1.
- Go back to KantanMapper and click Toggle Output. Your projector (assuming it’s on as an extended display), should not be displaying a dark screen. This is the area you can map out shapes onto!
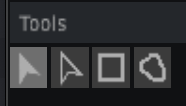
- To map a shape, you can do a “quad” with four corners, or freeform it. Go to the tools bar and choose either one of the last two options
- Move your mouse over to the projector screen window and block out a shape!
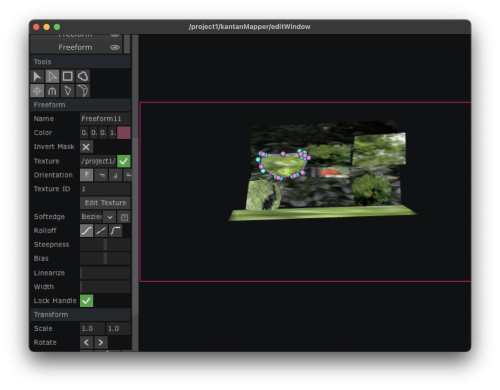
- Now, we can add your media and overlay into the shape. Drag the TOP you want into the “Texture” section in your shape settings.
- Click the “x” button next to it to “upload” it onto your shape.
- You can adjust your shape using the first two arrows in the tools bar to move or remap the item.
Project 1: Green House
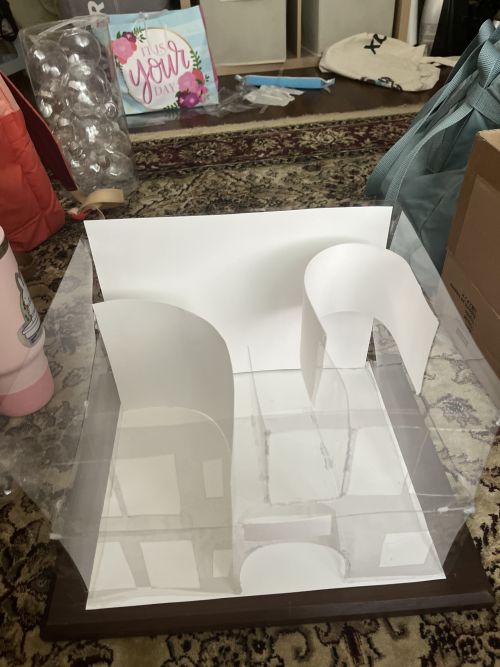
I wanted to experiment with using KantanMapper on a sculpture and also with different transparent materials, so I built a kind of “mini-set” out of paper and transparent plastic:
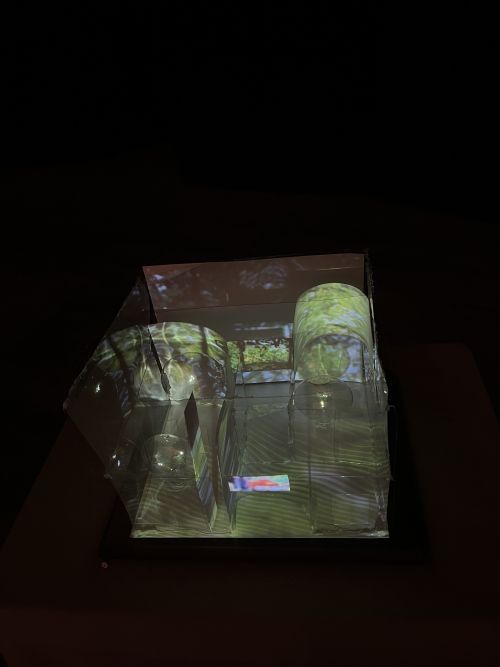
Then, I played around with mapping various videos I took on walks outside onto different areas of the sculpture to see how the reflections would work and how light would play off of stark white backgrounds.
To view/download the TouchDesigner file/setup I used, feel free to check it out on Google Drive. You must open it in TouchDesigner.
How I Displayed This Project
After setting it up in the exhibition space, I exported the video output as a flat MP4 file, ensuring I finalized all the mapping positions. Then I exported the MP4 file onto a USB stick, connected it to a media player that would be HDMI connected to the projector and played the MP4 file on a loop. I used this YouTube video to help me figure out how to export. This way, the project could be shown without being attached to a laptop running TD live.
Project 2: Individual GUTS+ Video
For this project, I wanted to play around with projection mapping to build a background for a video that I would then project onto myself. Lots of layers of video. The concept for my individual video was to play with the idea of a porcelain vase and the physical body. So I went online and screen-recorded sections of an educational video on how Eastern porcelain is made, projected certain sections of the video on a wall in a dark room, and recorded various clips of myself sitting in front of the projection. Then I mapped those videos onto the wall into various rectangle shapes and then stood in front/moved in front of the projections again and recorded that. Then I just played around with different fabric movements, exported certain video clips into Premiere Pro and edited it there. To view the TD document, download it here.
PROJECT 3: TouchDesigner Live Webcam Effects
This project was a collaboration with residents Sabine Brown and Cathy Le. We used KantanMapper to make the different output windows and used the webcam effects from Palette. For the live video feed, we just added a “Video Input In” TOP and, under its settings, made sure it was connected to the laptop’s webcam (or whatever other camera). To view the TD document, download it here.
