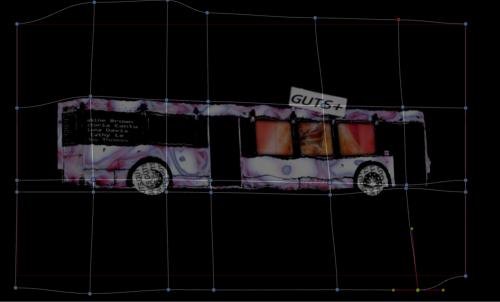
Large-Scale Reactive Projection Mapping with TouchDesigner
This is an artist page by Cathy Le. This project was part of the CATS+ Spring 2024 cohort.
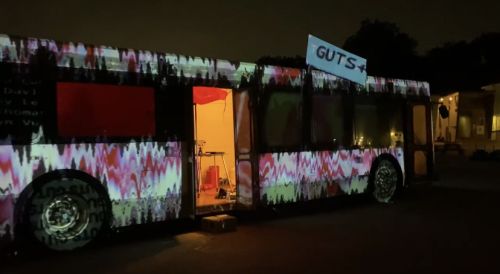
This is how I made a sound-reactive projection map on the MOHA bus using just TouchDesigner! I will go over how to projection map on a large object such as a bus (that can also be applied to houses, buildings, people etc) as well as some cool capabilities in TouchDesigner.
What is TouchDesigner
TouchDesigner is a visual programming environment that allows you to create multimedia applications in real-time. It's designed to be accessible to artists and designers without formal programming experience. And it’s free! (thank you Canda)
What is Projection Mapping
At its simplest, projection mapping is just playing a video and projecting it onto any object that you want. From there, you can map out specific areas of the video to align with the 3D space you’re projecting. You can do this in a multitude of ways; people usually use software like MadMapper ($), HeavyM($), or VPT (free). However, there are ways to do this in TouchDesigner easily! And because it’s within TouchDesigner, you can leverage its many other cool capabilities.
How to Start: Mapping Your Objecting Using a Photo
In projection mapping, you can individually map out each vertex/shape of the object while projecting (you can do this with Kantan mapper in TouchDesigner). However, with big complex objects, it’s much more efficient to create a map from a photo instead and distort that as necessary for your projection (you can make the photo mask in PhotoShop and use the Stoner Tool/Transform tool in TouchDesigner to distort/move around the image to fit the object while projecting.
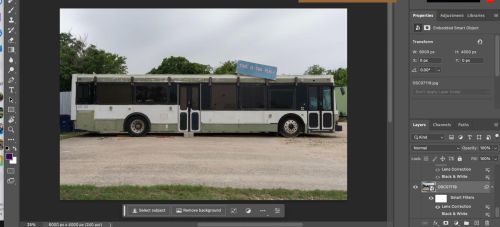
To begin, I first took a really good picture of the object I’m projecting on (in this case the bus), making sure it’s well-lit and not too lens distorted. Then I dumped this into Photoshop to edit the photo in preparation for the map.
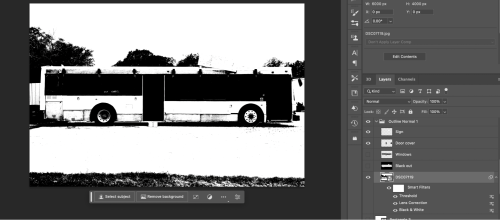
Filter -> Lens Distortion: I adjusted the horizontal/vertical alignments and image rotation because I want this image to be as straight as possible. Because the bus has some prominent edges, like the top/bottom/windows, that I know should be straight, I used this to align the bus in the x/y plane. There’s a grid overlay in here to make sure it’s perfectly straight.
Image -> Adjustments -> Black and White: Turn the image grayscale
Image -> Adjustment -> Threshold: Turn the image strictly black and white like a vector illustration
Lasso Tool: Use this to lasso out the entire background around the object and delete it. Then I can lasso out any other areas I want to keep/remove.
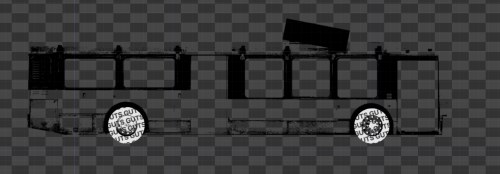
I also split my bus into lots of separate layers based on what I wanted to project on. For example, I knew I wanted to project on the wheels, the windows, the sign, and the outer bus. So I separated this into distinct layers to then export into a photo. I also had to make each part I wanted to project videos/images/textures on a white image with a transparent background (in TouchDesigner you can overlay imagery on a white object using the composite component).
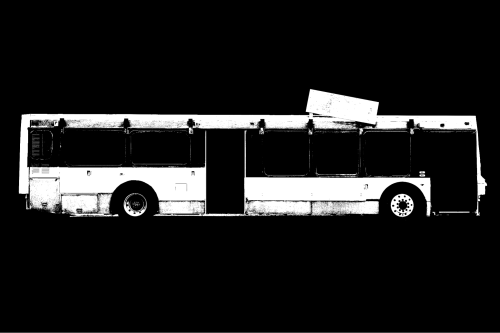
In the beginning, I just started with this one image above. In its simplest form, I could overlay a video on top of the white parts in TouchDesigner and use that to project!
However, I wanted to use different types of media and expand, so I needed to split this image into different parts to overlay different media on:
- Bus frame
- Wheels
- Sign
- Windows
That’s pretty much it for the photo editing. (Though I did edit the image further + export the necessary images while working in TouchDesigner as new ideas/complications came up)
Creating Projection Mapping Visuals in TouchDesigner + Reactive Components
To begin using TouchDesigner, I recommend going through video tutorials and creating alongside it. This helped me get going very fast. I used this one: https://www.youtube.com/watch?v=g20Qwg8gMBE&list=PLpuCjVEMQha9rjhDET3uuE0T3UeIcROJu
This was my first time using TouchDesigner, so this file really grew as I experimented with its different capabilities.
This is what my file looked like at the very end:
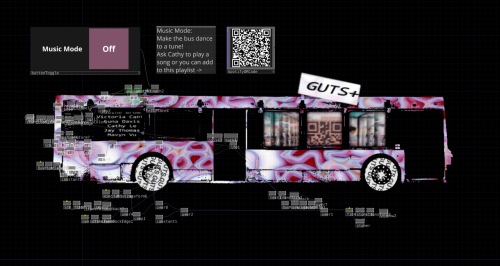
It’s a lot of stuff, but I’ll first go over how to just projection map using the photo map I made in the last section because you only really need that image and the following few components:
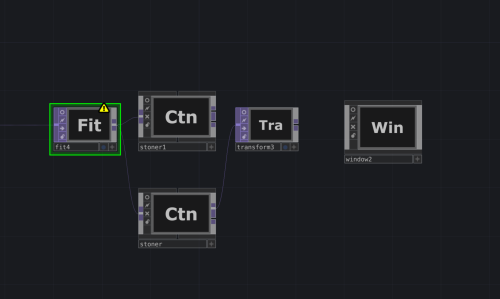
To projection map without any other visuals I just needed:
- Black + white image of the bus, shown in the last section.
- Fit components to fit the image to the size of my projection (1920x1080).
- Stoner component to distort the image of the bus.
- This is modified in realtime while projecting
- Transform component to increase the scale/rotation/orientation of the projection output.
- I did this part first before messing with the stoner tool
- This is also modified in real time while projecting.
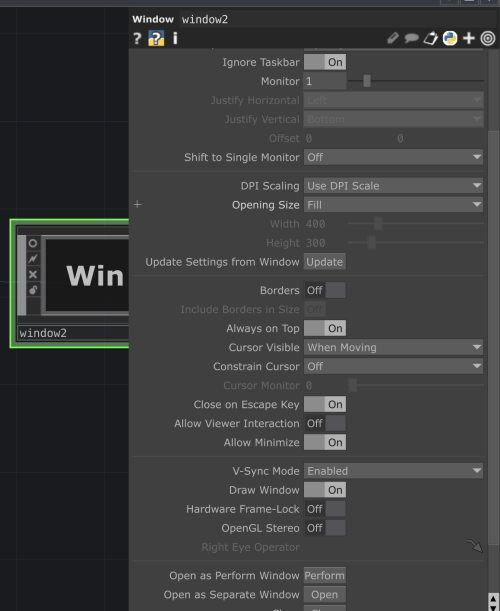
- Window component to project on a separate window on the projector.
- This is so you can still edit stuff in TouchDesigner while the projection is up.
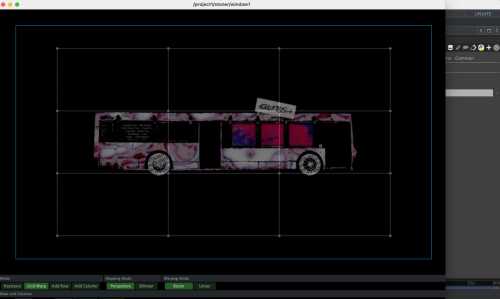
Now I’ll go into the other components that went into this projection:
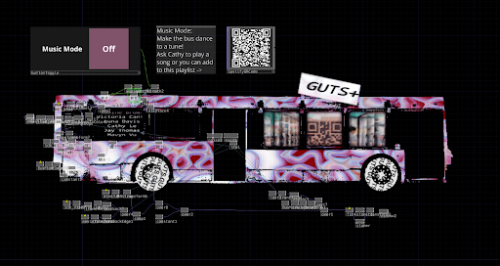
I had a music mode where with the modes: Off: the visuals of the bus distort based on the sound input waves of the surrounding environment (I used my laptop mic as the input) On: the visuals of the bus distort based on the song playing from a Spotify playlist.
- This played from my laptop.
- The playlist link was public, so people could add or ask me to queue up a song or they can ask me to queue up a song.
- To get the internal sound from my laptop as input into TouchDesigner I had to set up some settings + download a separate software. The tutorial I used: https://www.youtube.com/watch?v=HR6Ot3w6qTo&t=364s&pp=ygUndG91Y2hkZXNpZ25lciBpbnB1dCBtdXNpYyBmcm9tIGNvbXB1dGVy.
I had to do some math on the sound wave to get the visuals I wanted for the bus. I then converted this into a chop component and displaced it onto the imagery of the outside bus.
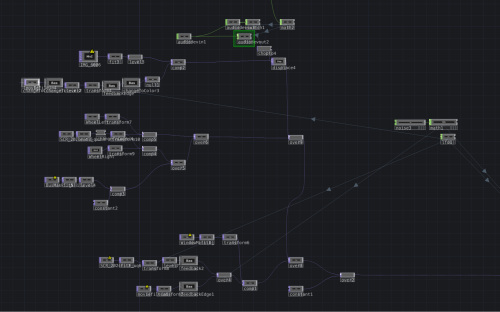
On the left side mass of my TouchDesigner file, the components are a hodgepodge of the visuals I made for the bus. A lot of experimenting. A summary of everything here:
Bus Wheels: Animated them into spinning wheels so it seemed like the bus was moving. Black Shadows: Added this just to create the darker background of the bus.
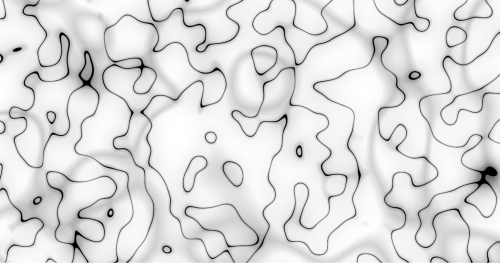
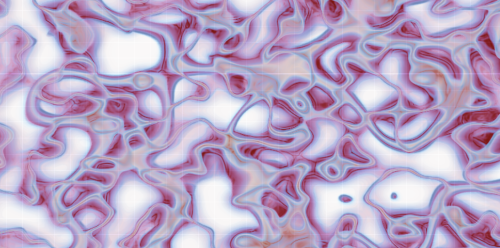

Outside Bus: I edited a simple animation to make it more “gutsy” looking with bright red. I also added a pulsing component where every second it would pulse a radioactive blue and add some feedback imagery, adding to the pulsey organ feel.
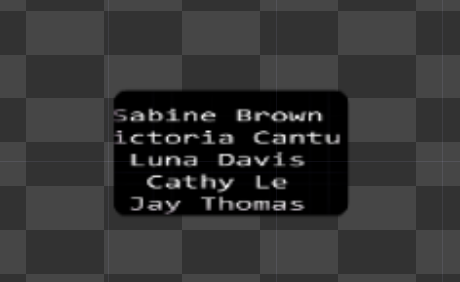
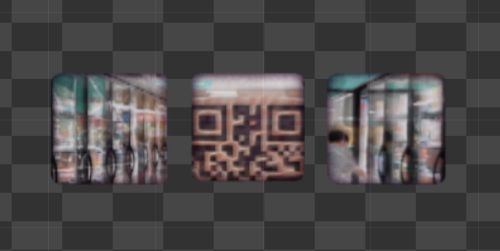
Left Window: I added a glitchy text of all the CATS+ residents name. Right Windows: I made a compiled video out of snippets of CATS+ performance videos, and added color editing + feedback edge effect to give it a dreamy effect.
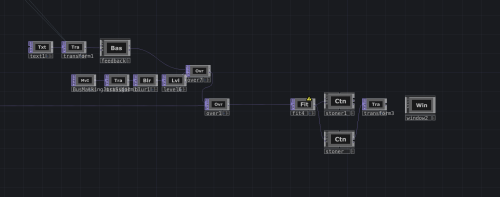
Now on the left of my TouchDesigner file. A summary:
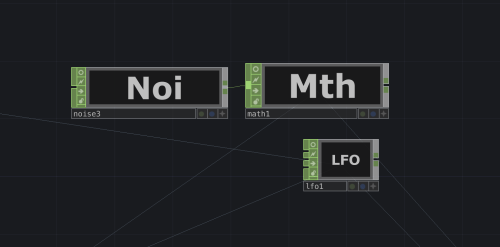
Sign: I added a glitchy text of the GUTS+ show name. The rest of the component was necessary for Projection Mapping, as talked about previously.
These components are also the dependencies controlling some of the real-time animations. The LFO component is for the pulsing video animation, and the noise component was for the glitchy text.
That’s pretty much it!
Setting up Projection Mapping in Real Time
Now that I finished my TouchDesigner file, all I needed was to:
- Get in front of the bus.
- Set up a pedestal for my laptop + projector.
- I needed to be quite far away from the bus to project on the whole thing.
- Plug in the power for the projector.
- Plug in the hdmi cord between the projector and my computer.
- Use the window component in TouchDesigner to open a separate window and start projecting!
- Use the transform tool to scale/rotate the image as necessary to fit the bus in the right places roughly.
- Use the stoner tool to do the rest of the nitpicky work.
- Mostly had to align the windows/wheels
That’s it!
Conclusion
Yay we did it! This technique can be applied to many other things too. The possiblities!
Note: I had to use a different laptop for my final projection. My original laptop was very old (2016 Intel Mac) and could barely play the visuals (very laggy/frame rate of <10). Then I switched to a newer computer (2022 M2 Mac), which was much better + more reactive (perfect frame rate!). If you don’t have a better laptop to switch to and are running into these issues, I recommend optimizing your TouchDesigner file (there are tips online for that). For me, initially, I just turned off all the viewers of the components, and that made it a lot better on my old laptop.
